

Winter time is a time for chapped lips and that means a time for lip balm. I, for one, have been addicted to the stuff ever since I started buying Bonnebell Lip Smackers (glitter and all) in packs of 10 in a variety of flavours and colours. Now that my glitter days (short as they were) are over, I’m back to basic, creamy, natural balms. Since I’ve heard shocking statistics (not sure where they’re from) that the average woman eats 5-6 pounds of lipstick in her lifetime, let’s make sure that the stuff we put on our lips everyday is natural, non-toxic and, actually edible.
While I don’t know about eating it, I do know that buying lip balm can be expensive. Each pot, especially the natural brands, can cost anywhere from $5-10 (or even $20). So, why not gather some ingredients and make it yourself? Despite my large resume of trying various lip balms, from Canada, the United States and, even Colombia, this is by far the best lip balm I’ve tried. And it was made in my kitchen, with a handful of ingredients, containing no preservatives, chemicals or irritants. You can even eat it, if you have an appetite for shea butter and beeswax, which you probably don’t. But, according to the stats, you’ll probably end up eating some anyways. And that’s OK!
DIY Natural Lip Balm
Ingredients:
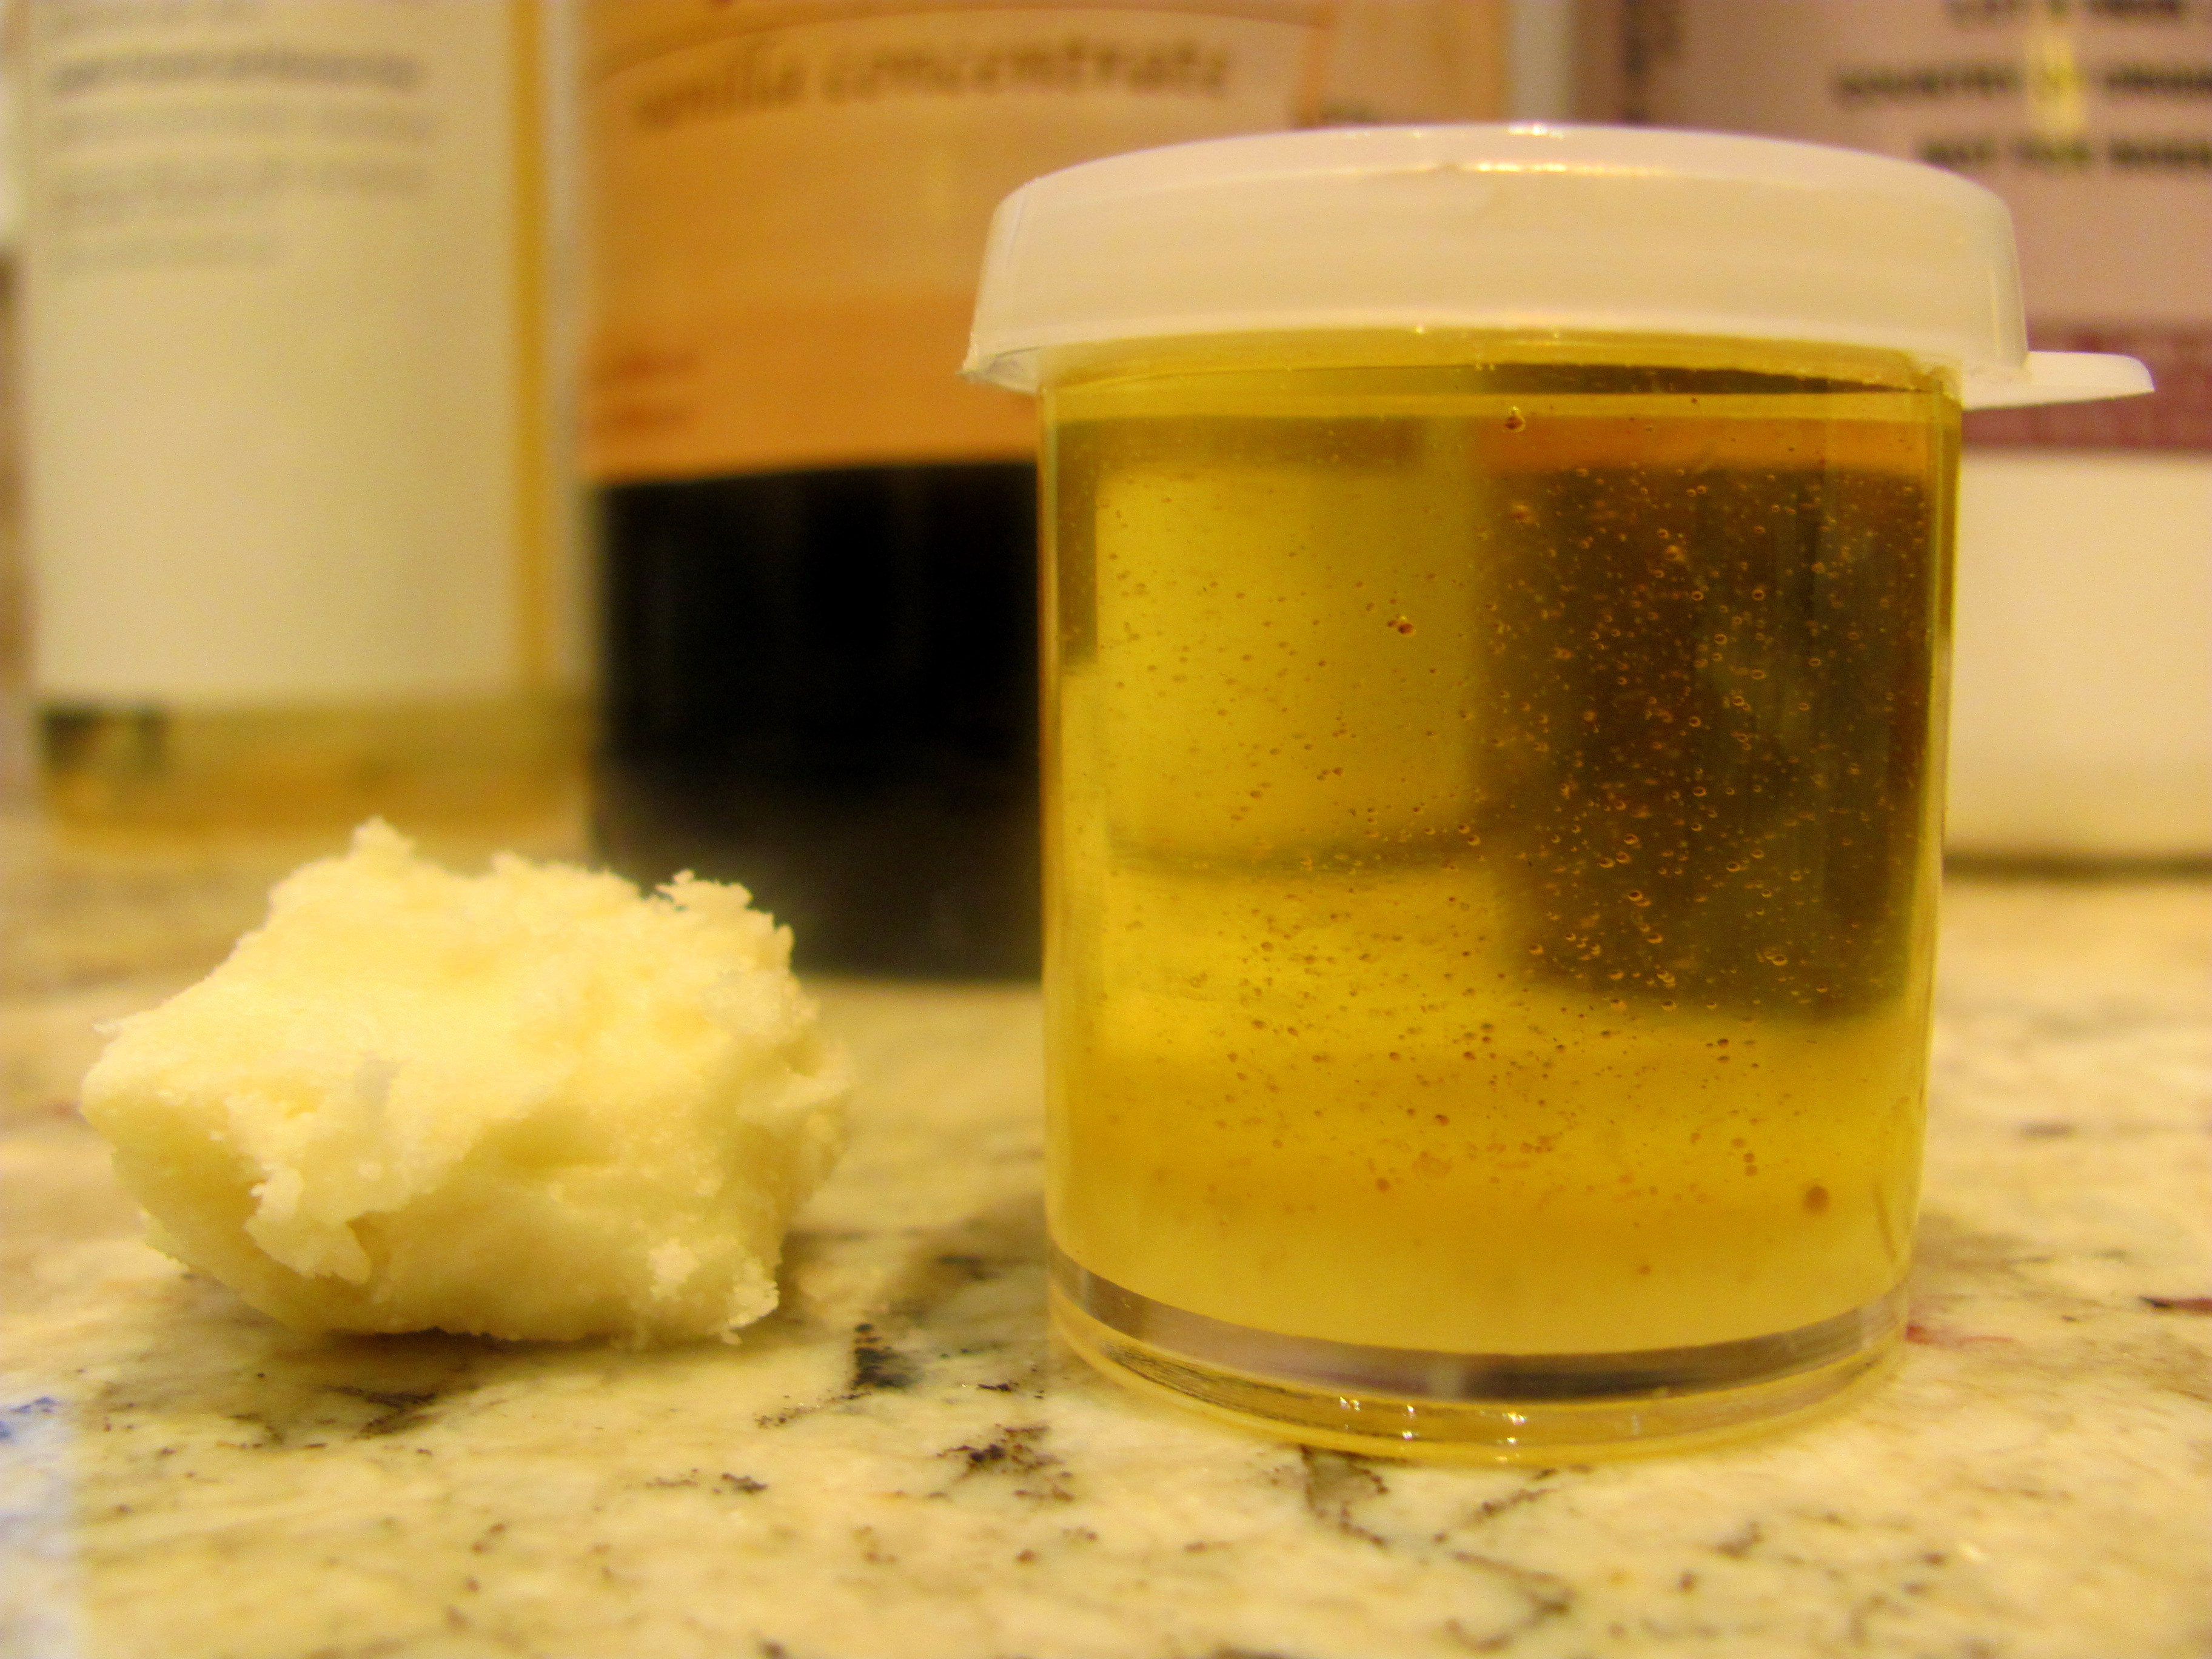
2 tbs shea butter (or cocoa butter)
2 tbs coconut oil
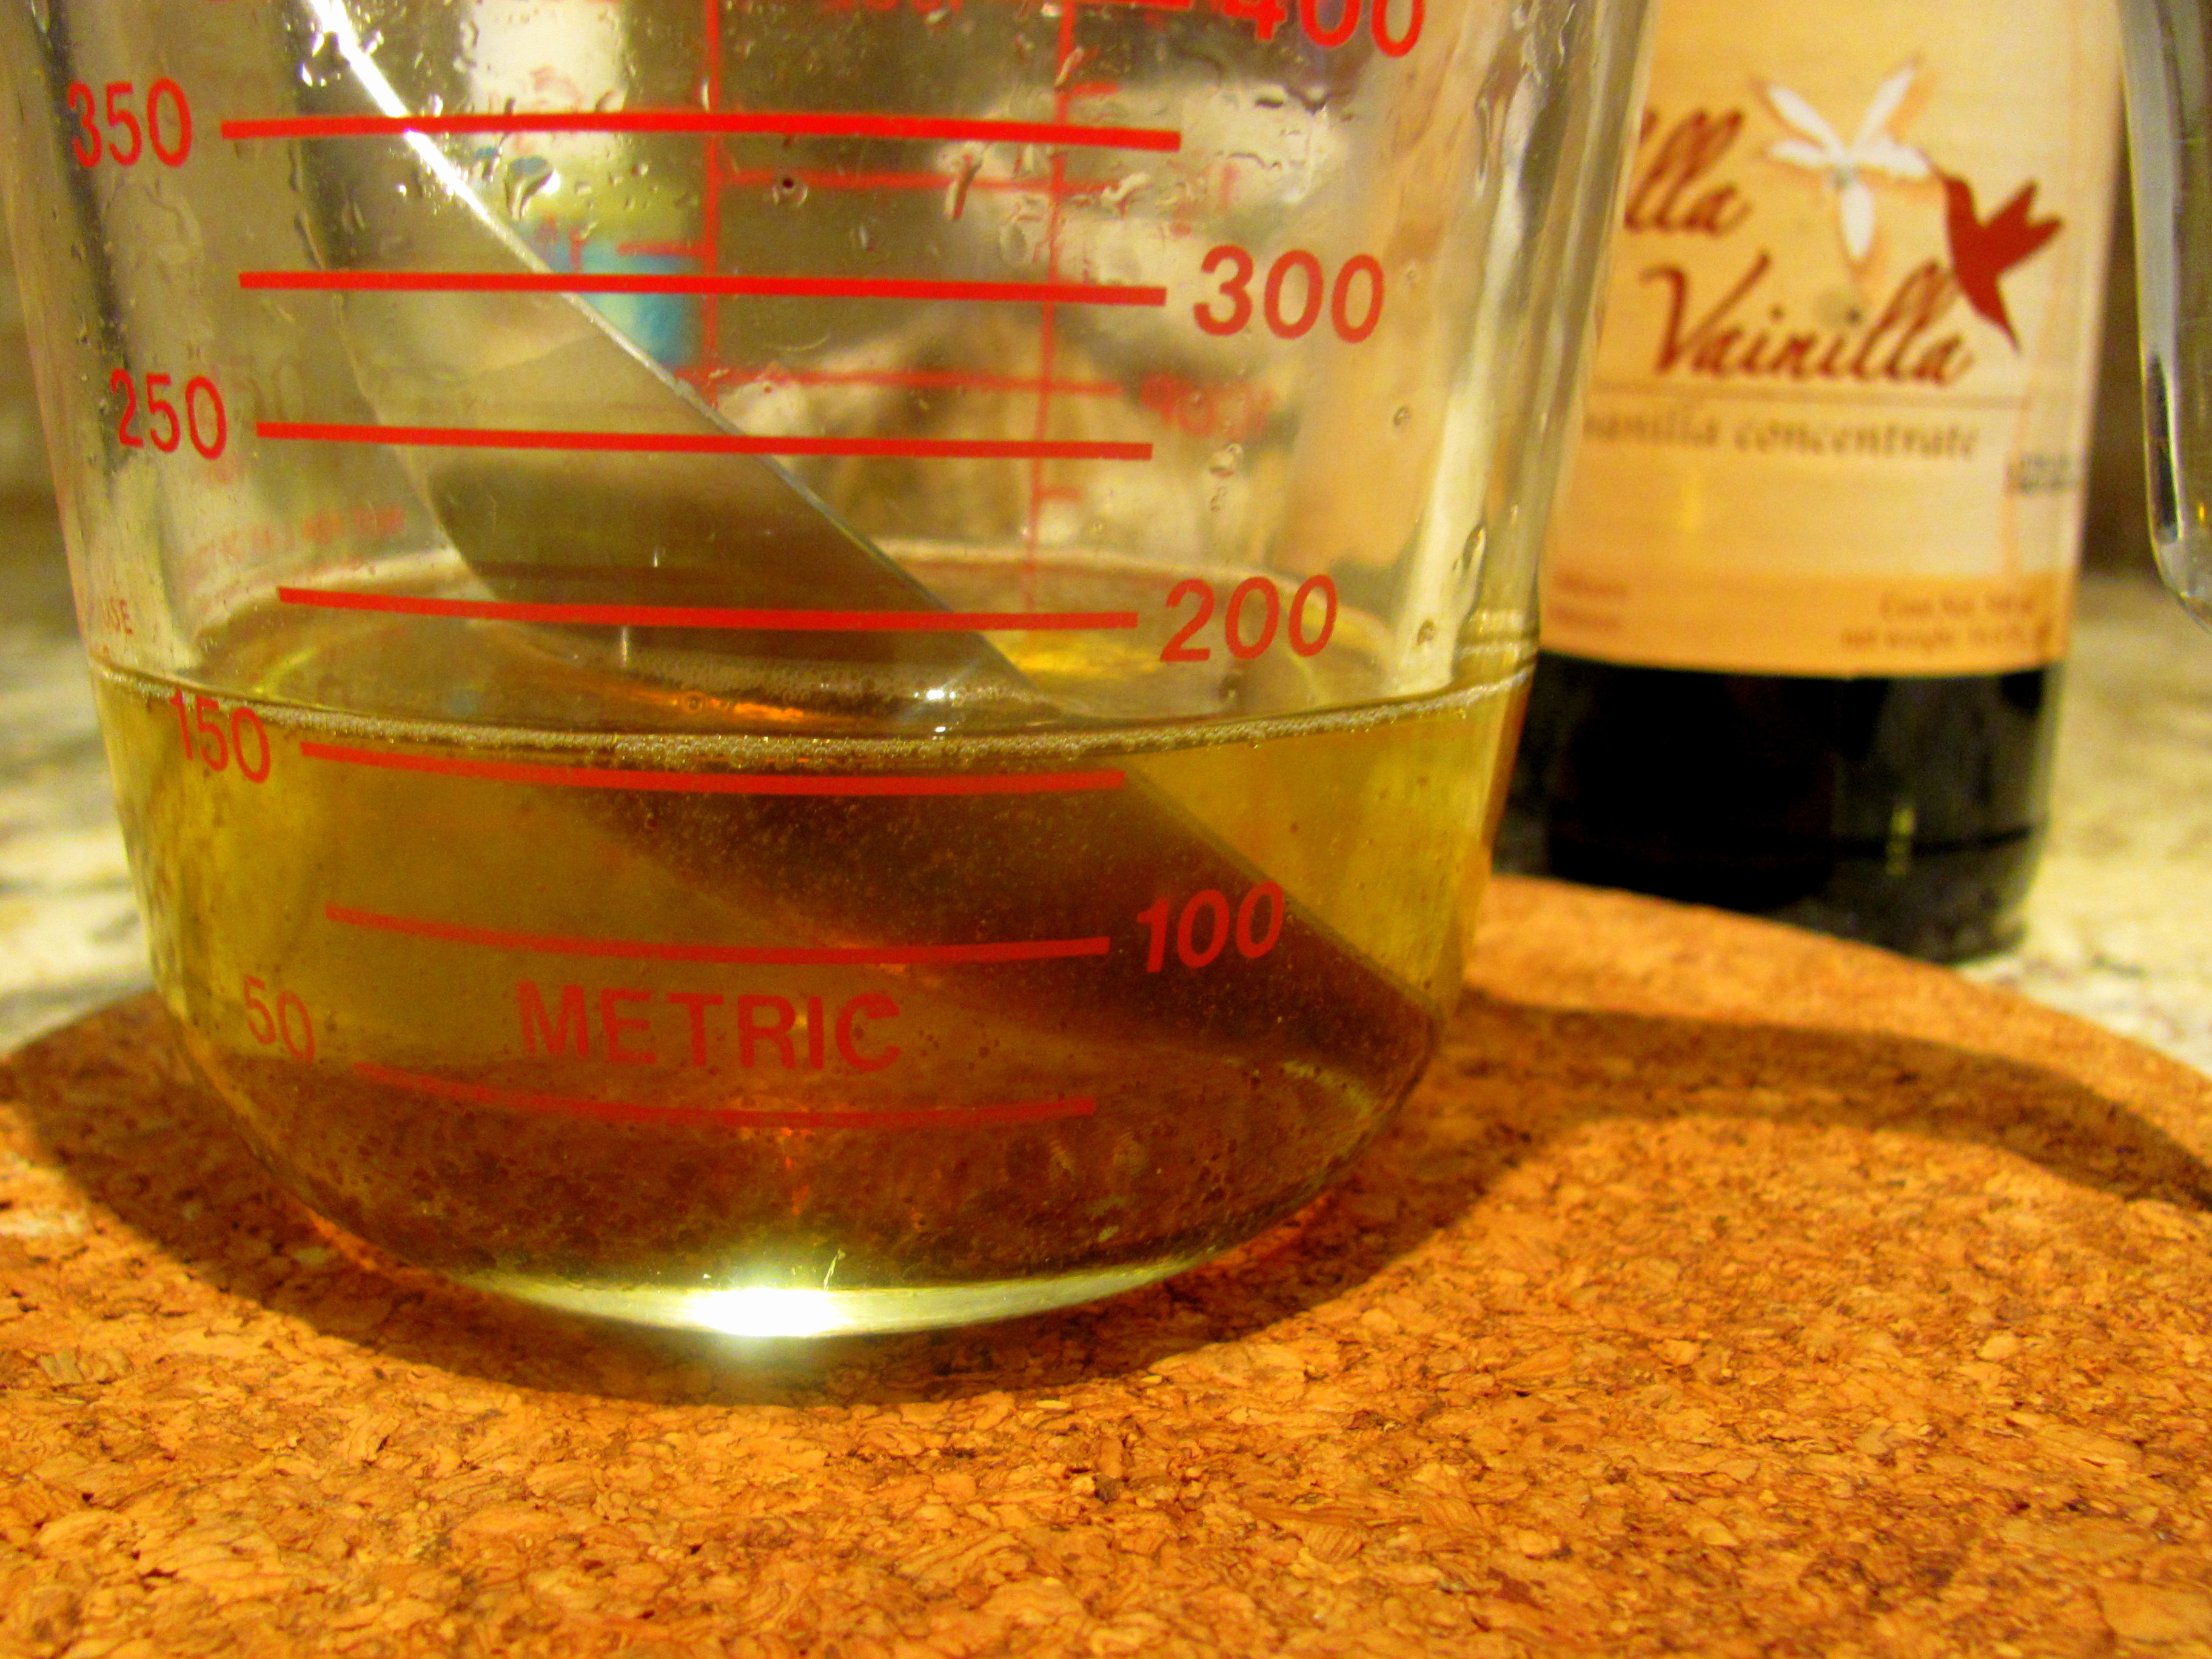
2 tbs of a light oil (apricot kernel oil, olive oil, almond oil, grapeseed oil, etc.). I used apricot kernel oil for its light, moisturizing effects.
2 tbs beeswax
Fragrance: 10-15 drops of an essential oil or vanilla extract
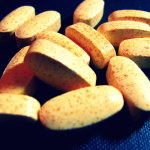
1/4 tsp vitamin E
Directions:
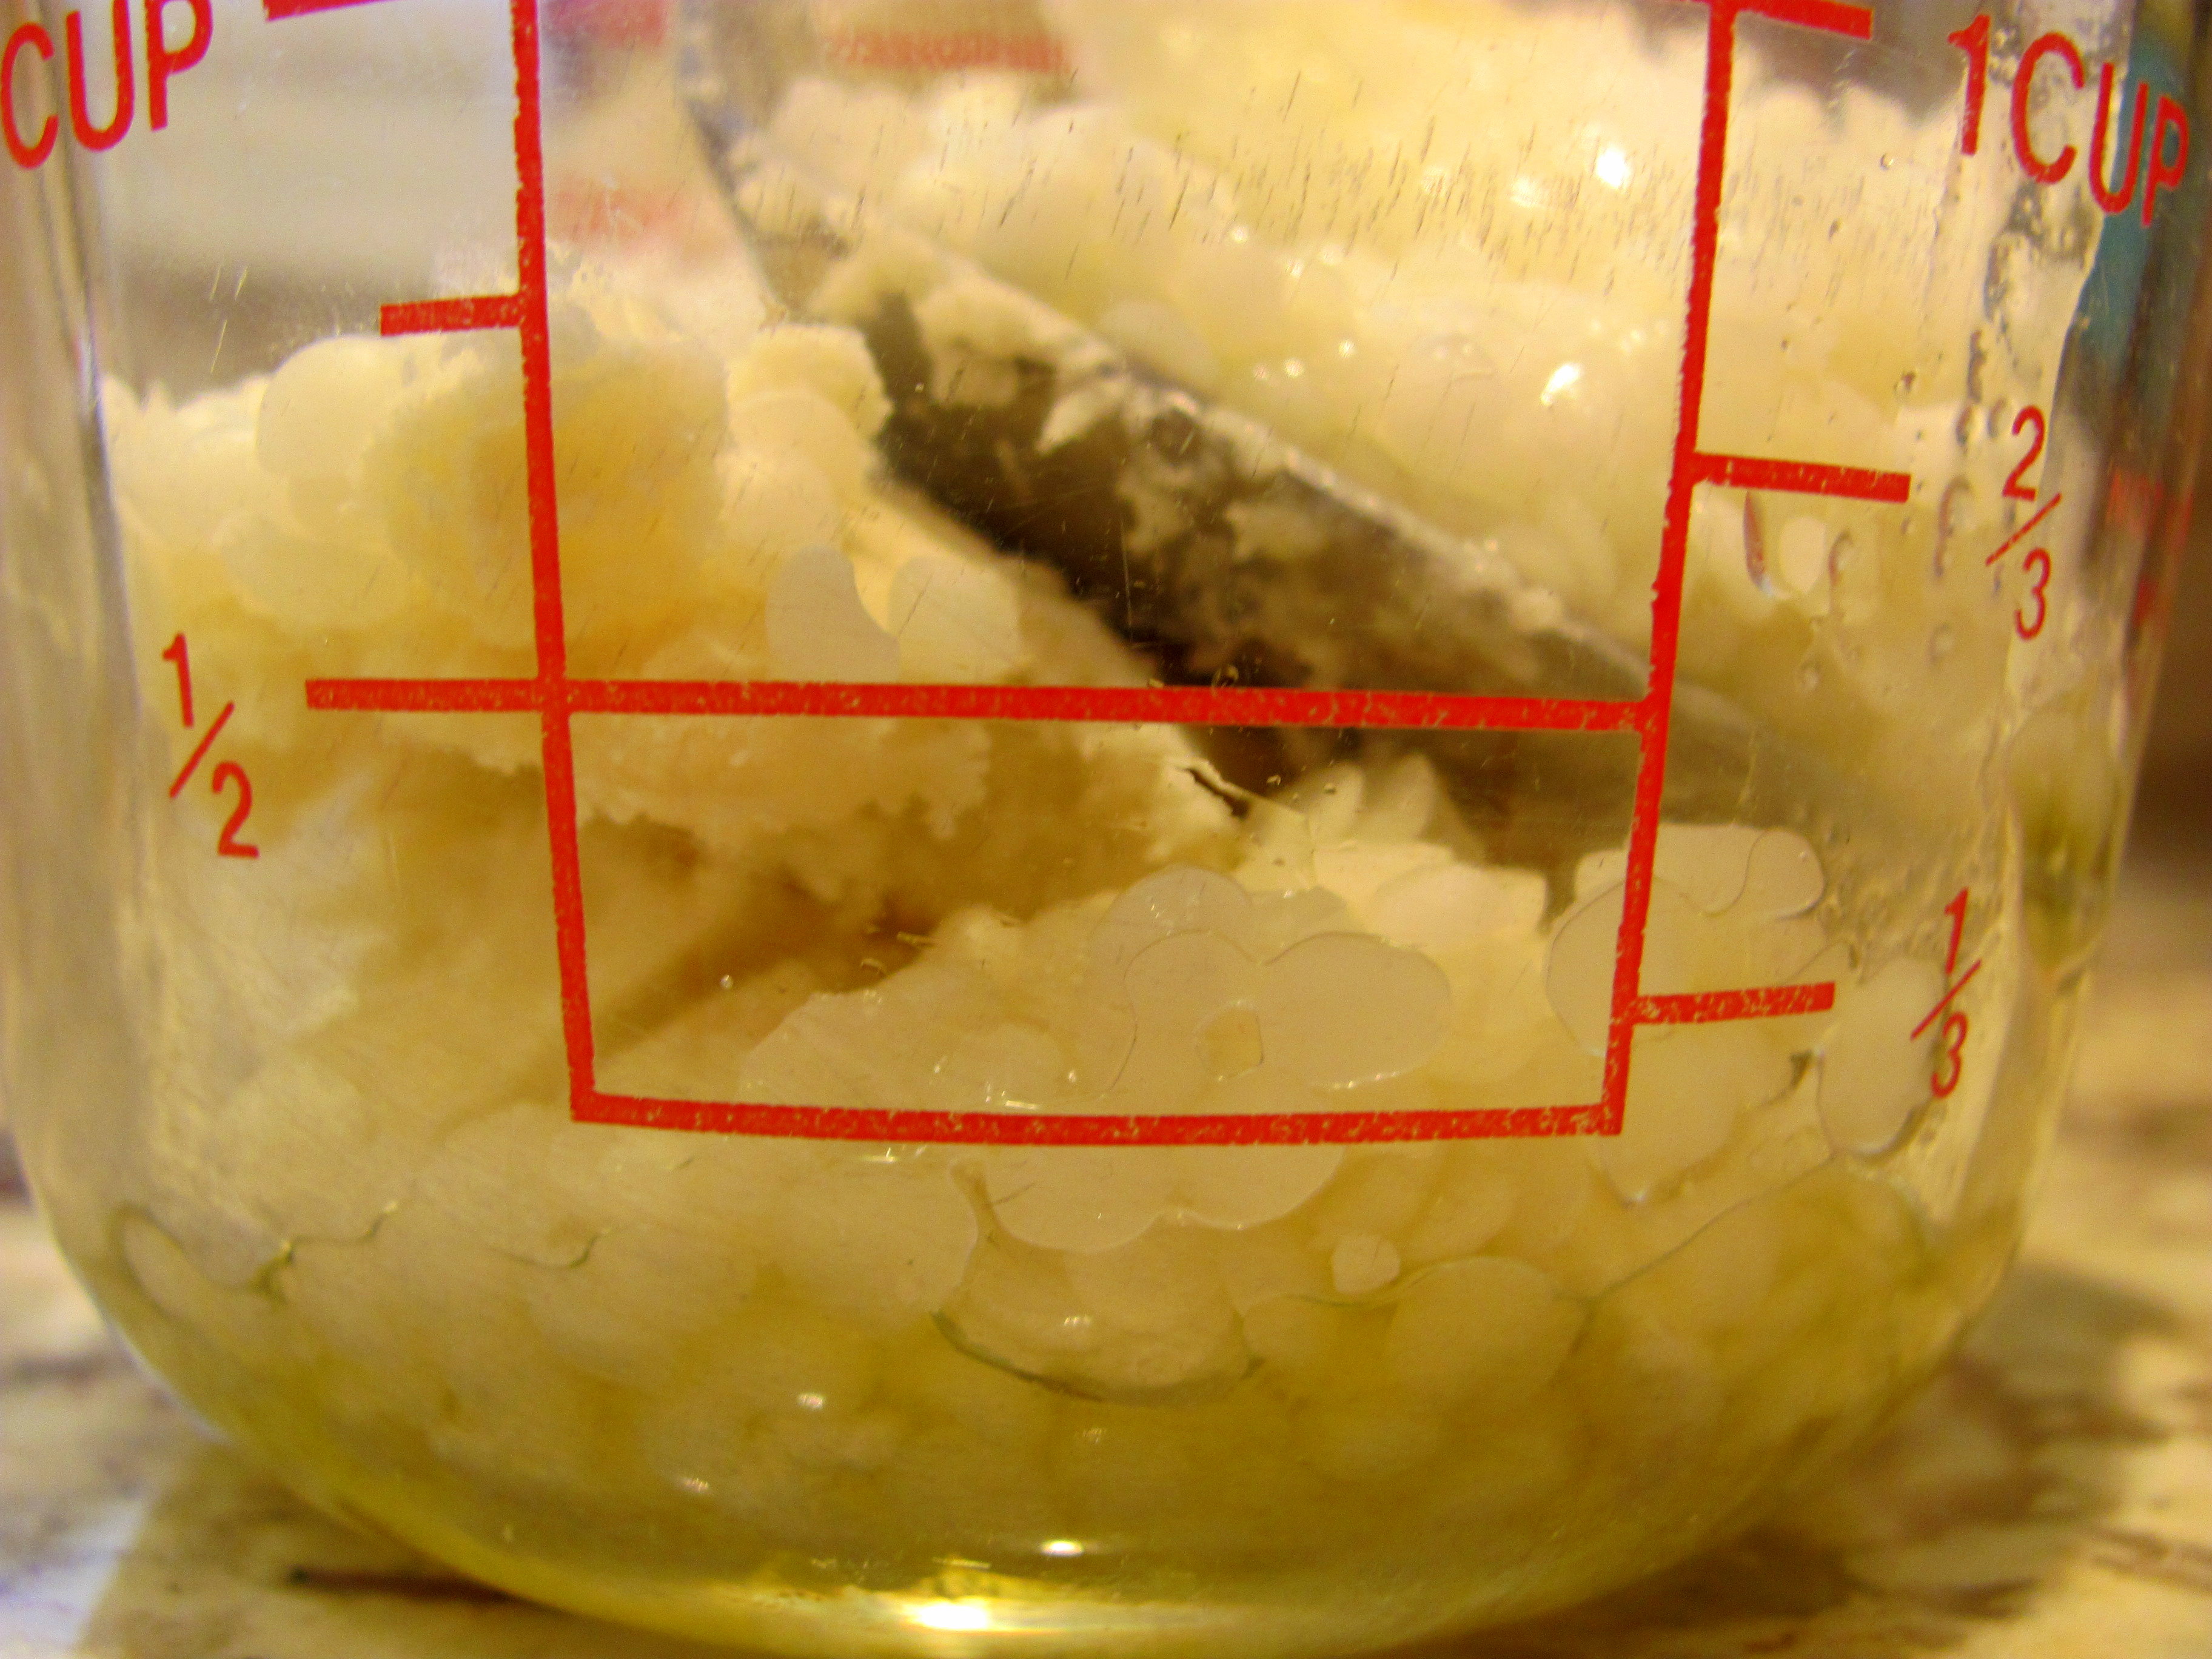
Measure out the shea butter, coconut oil, apricot kernel oil and beeswax and add to a glass measuring cup.
Fill a medium-sized soup pot 1/3 of the way with water. Create a double-boiler by placing the measuring cup into the soup pot.
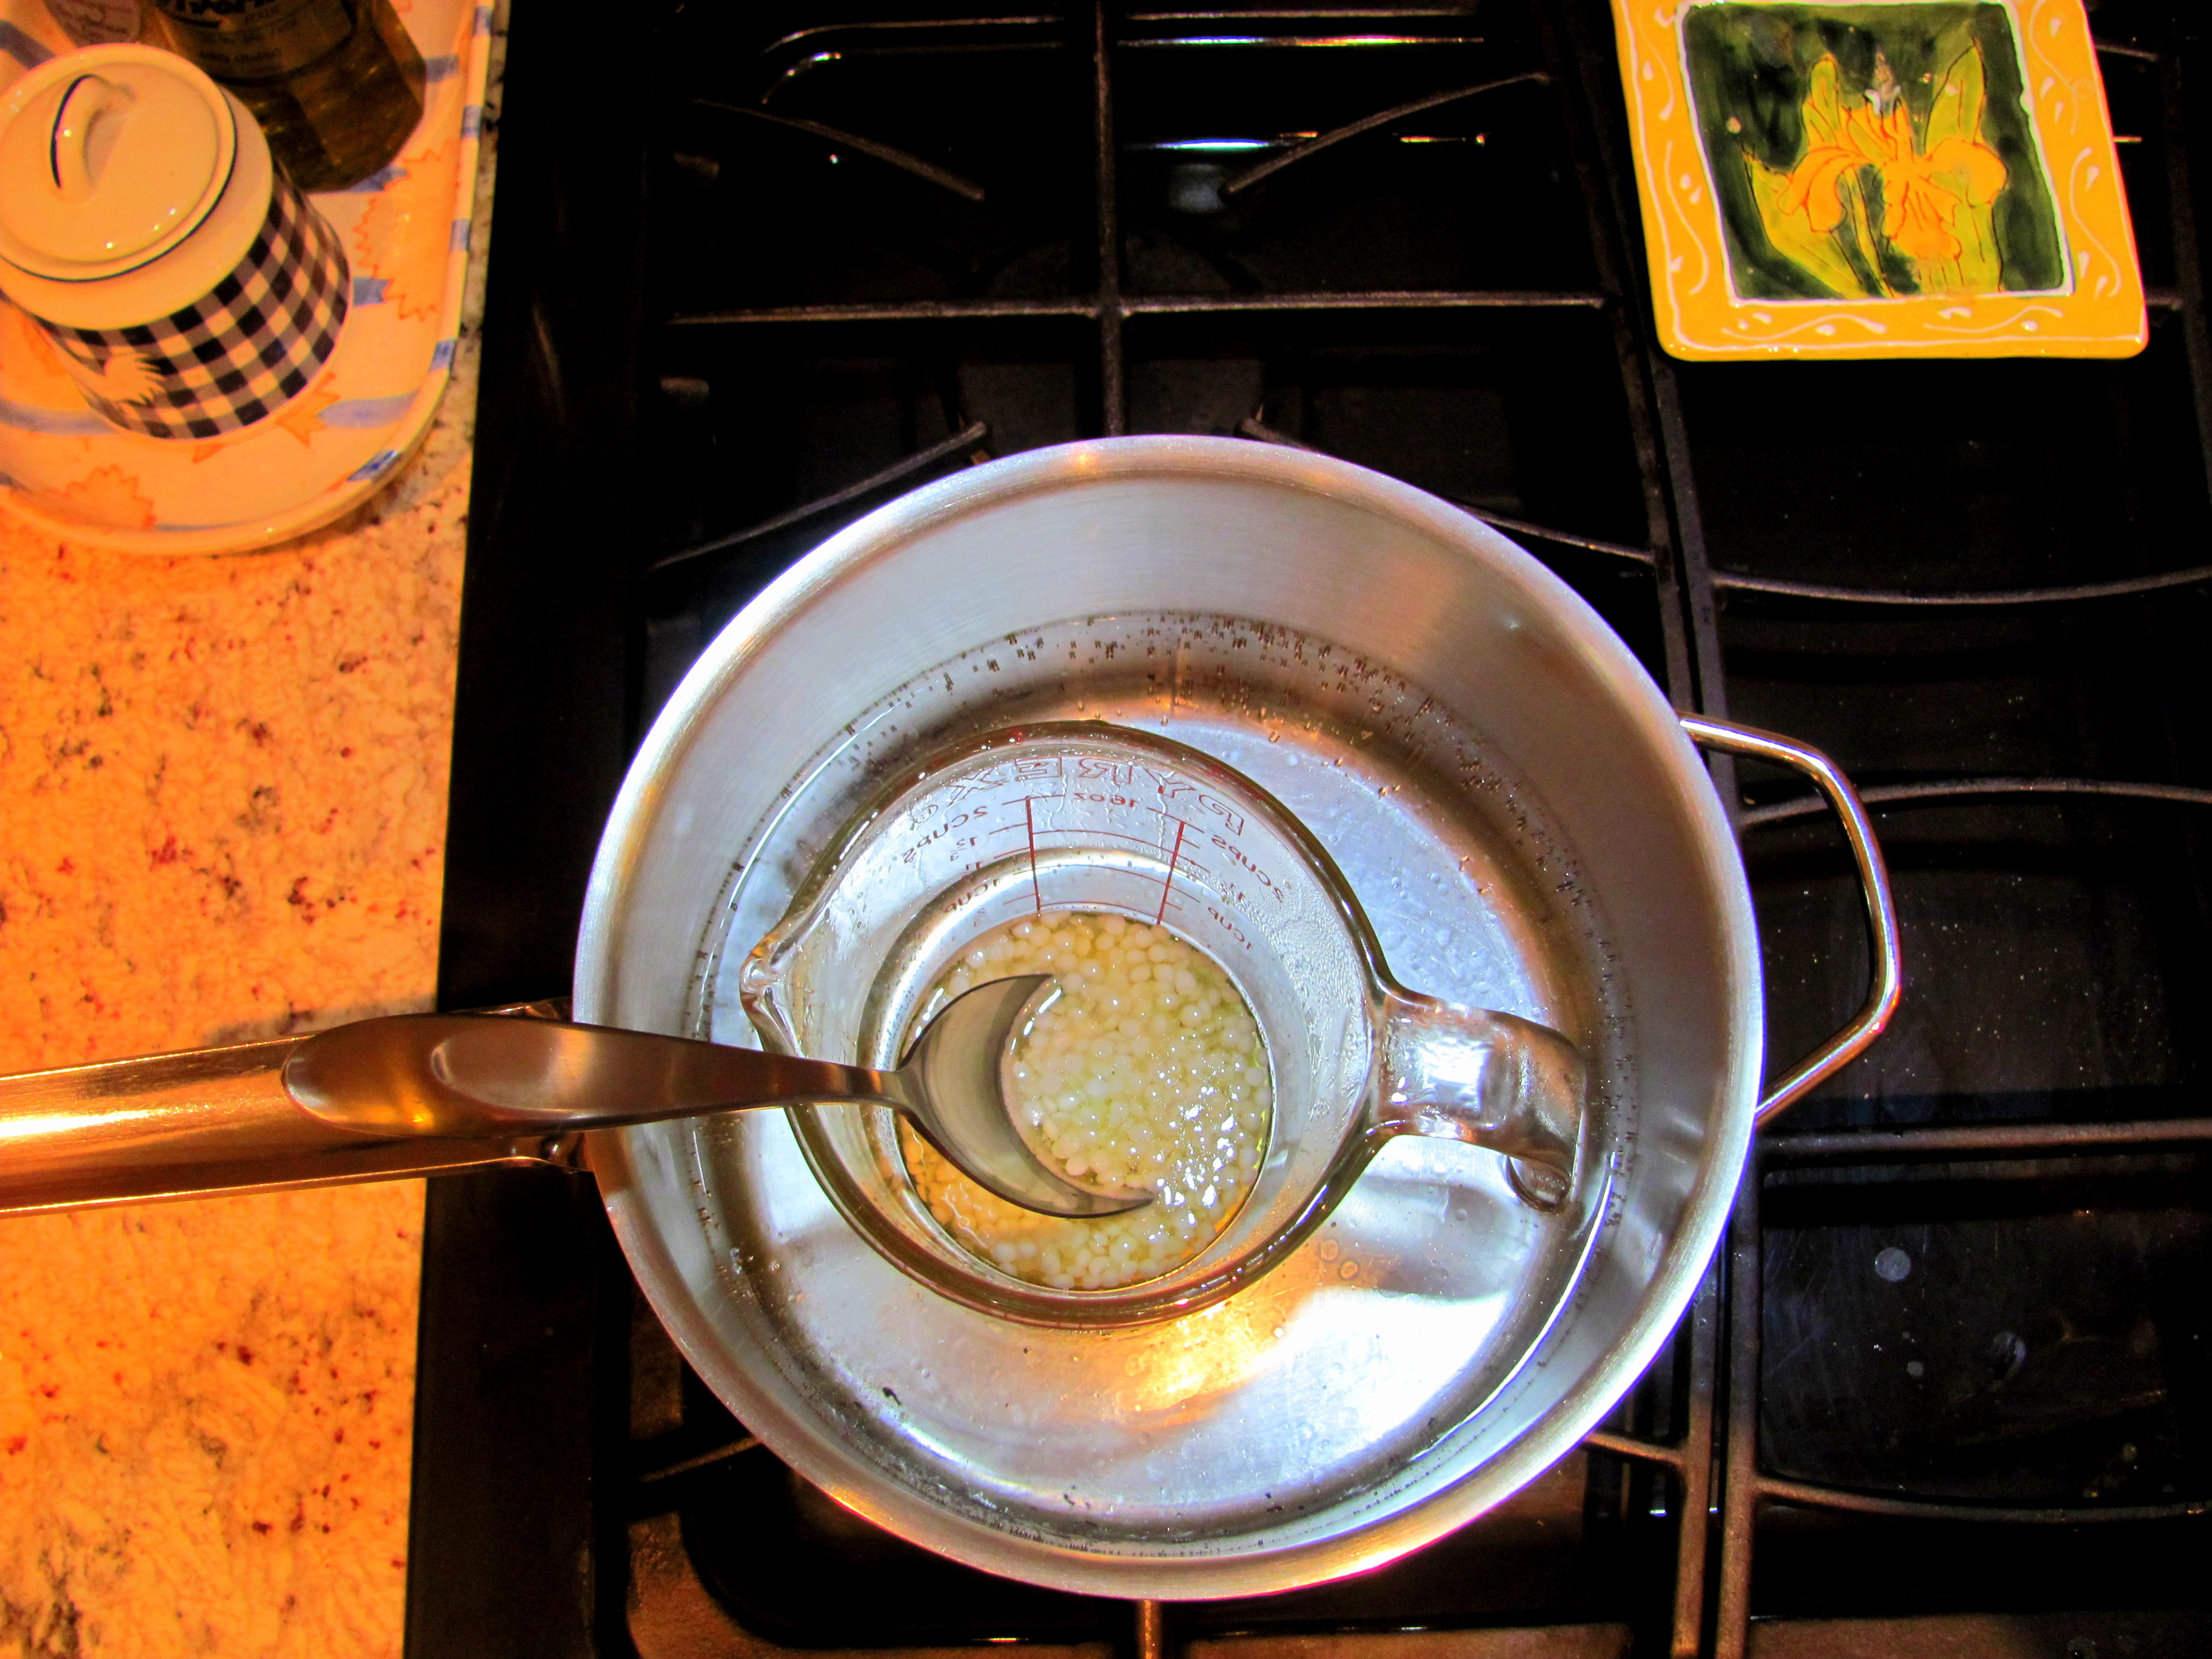
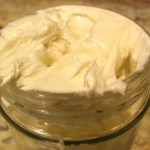
Cook on medium-high, while stirring constantly, until the water boils and all of the ingredients melt to form a uniform mixture. This will take a few minutes.
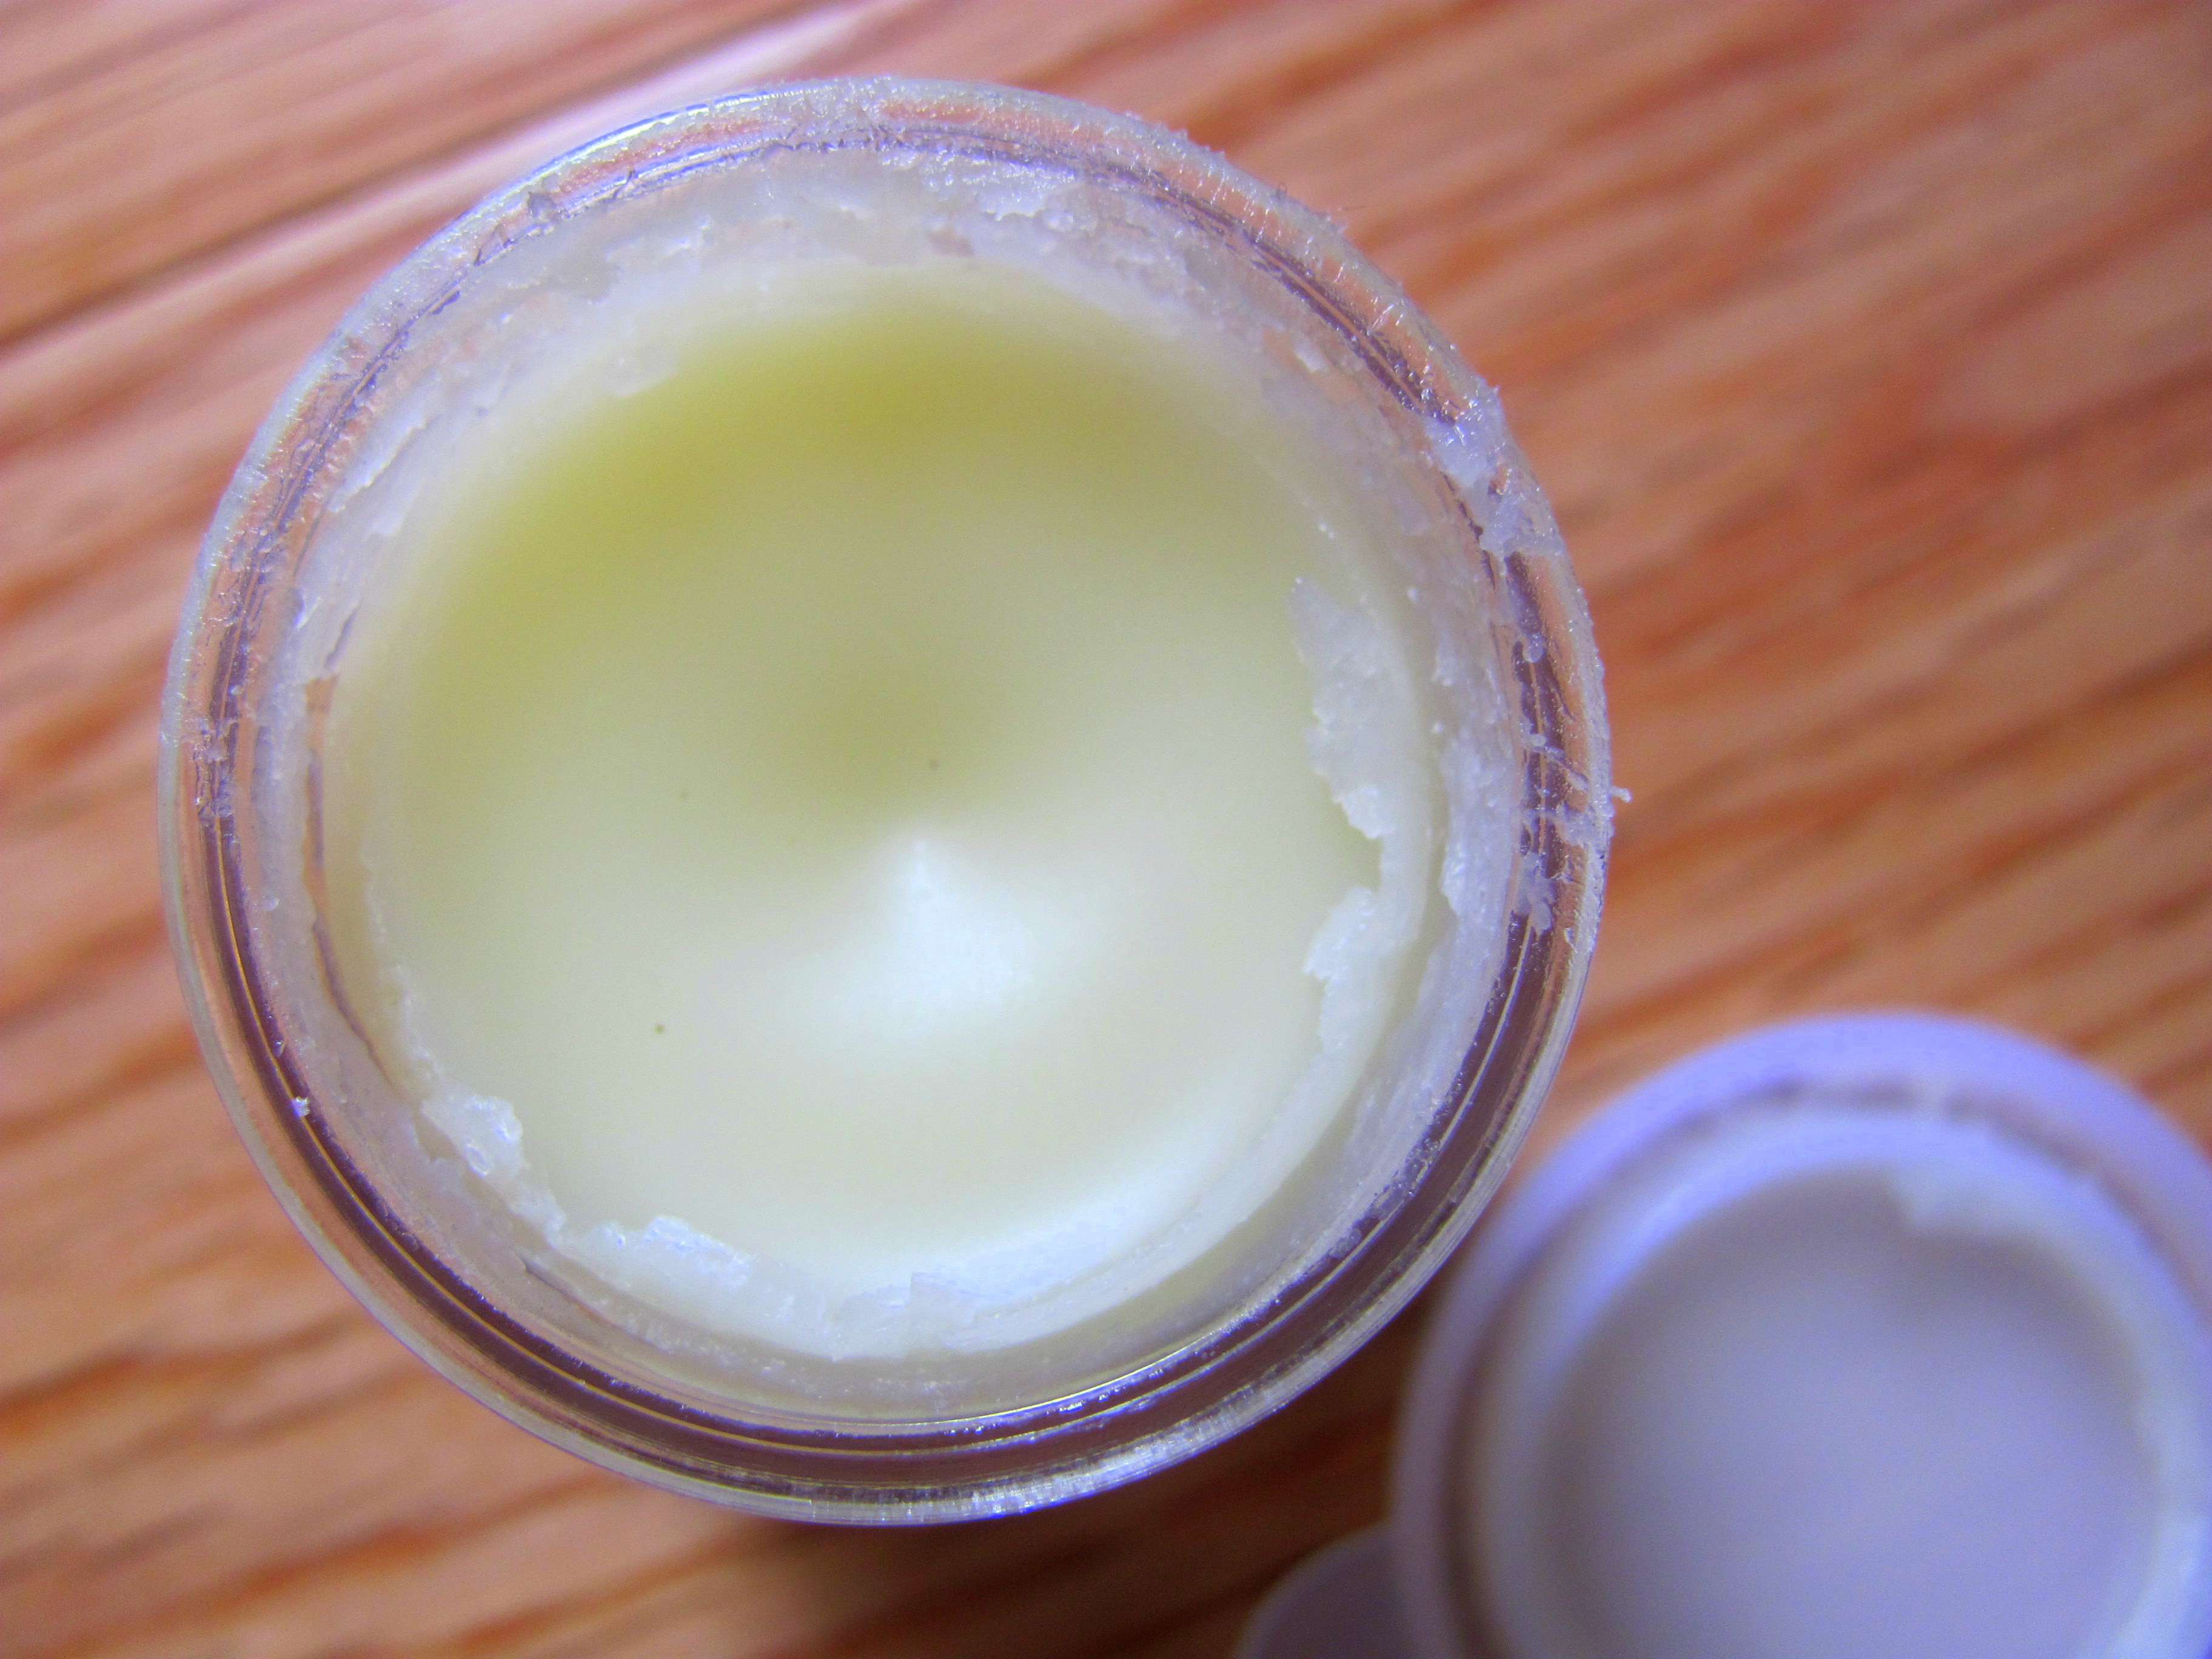
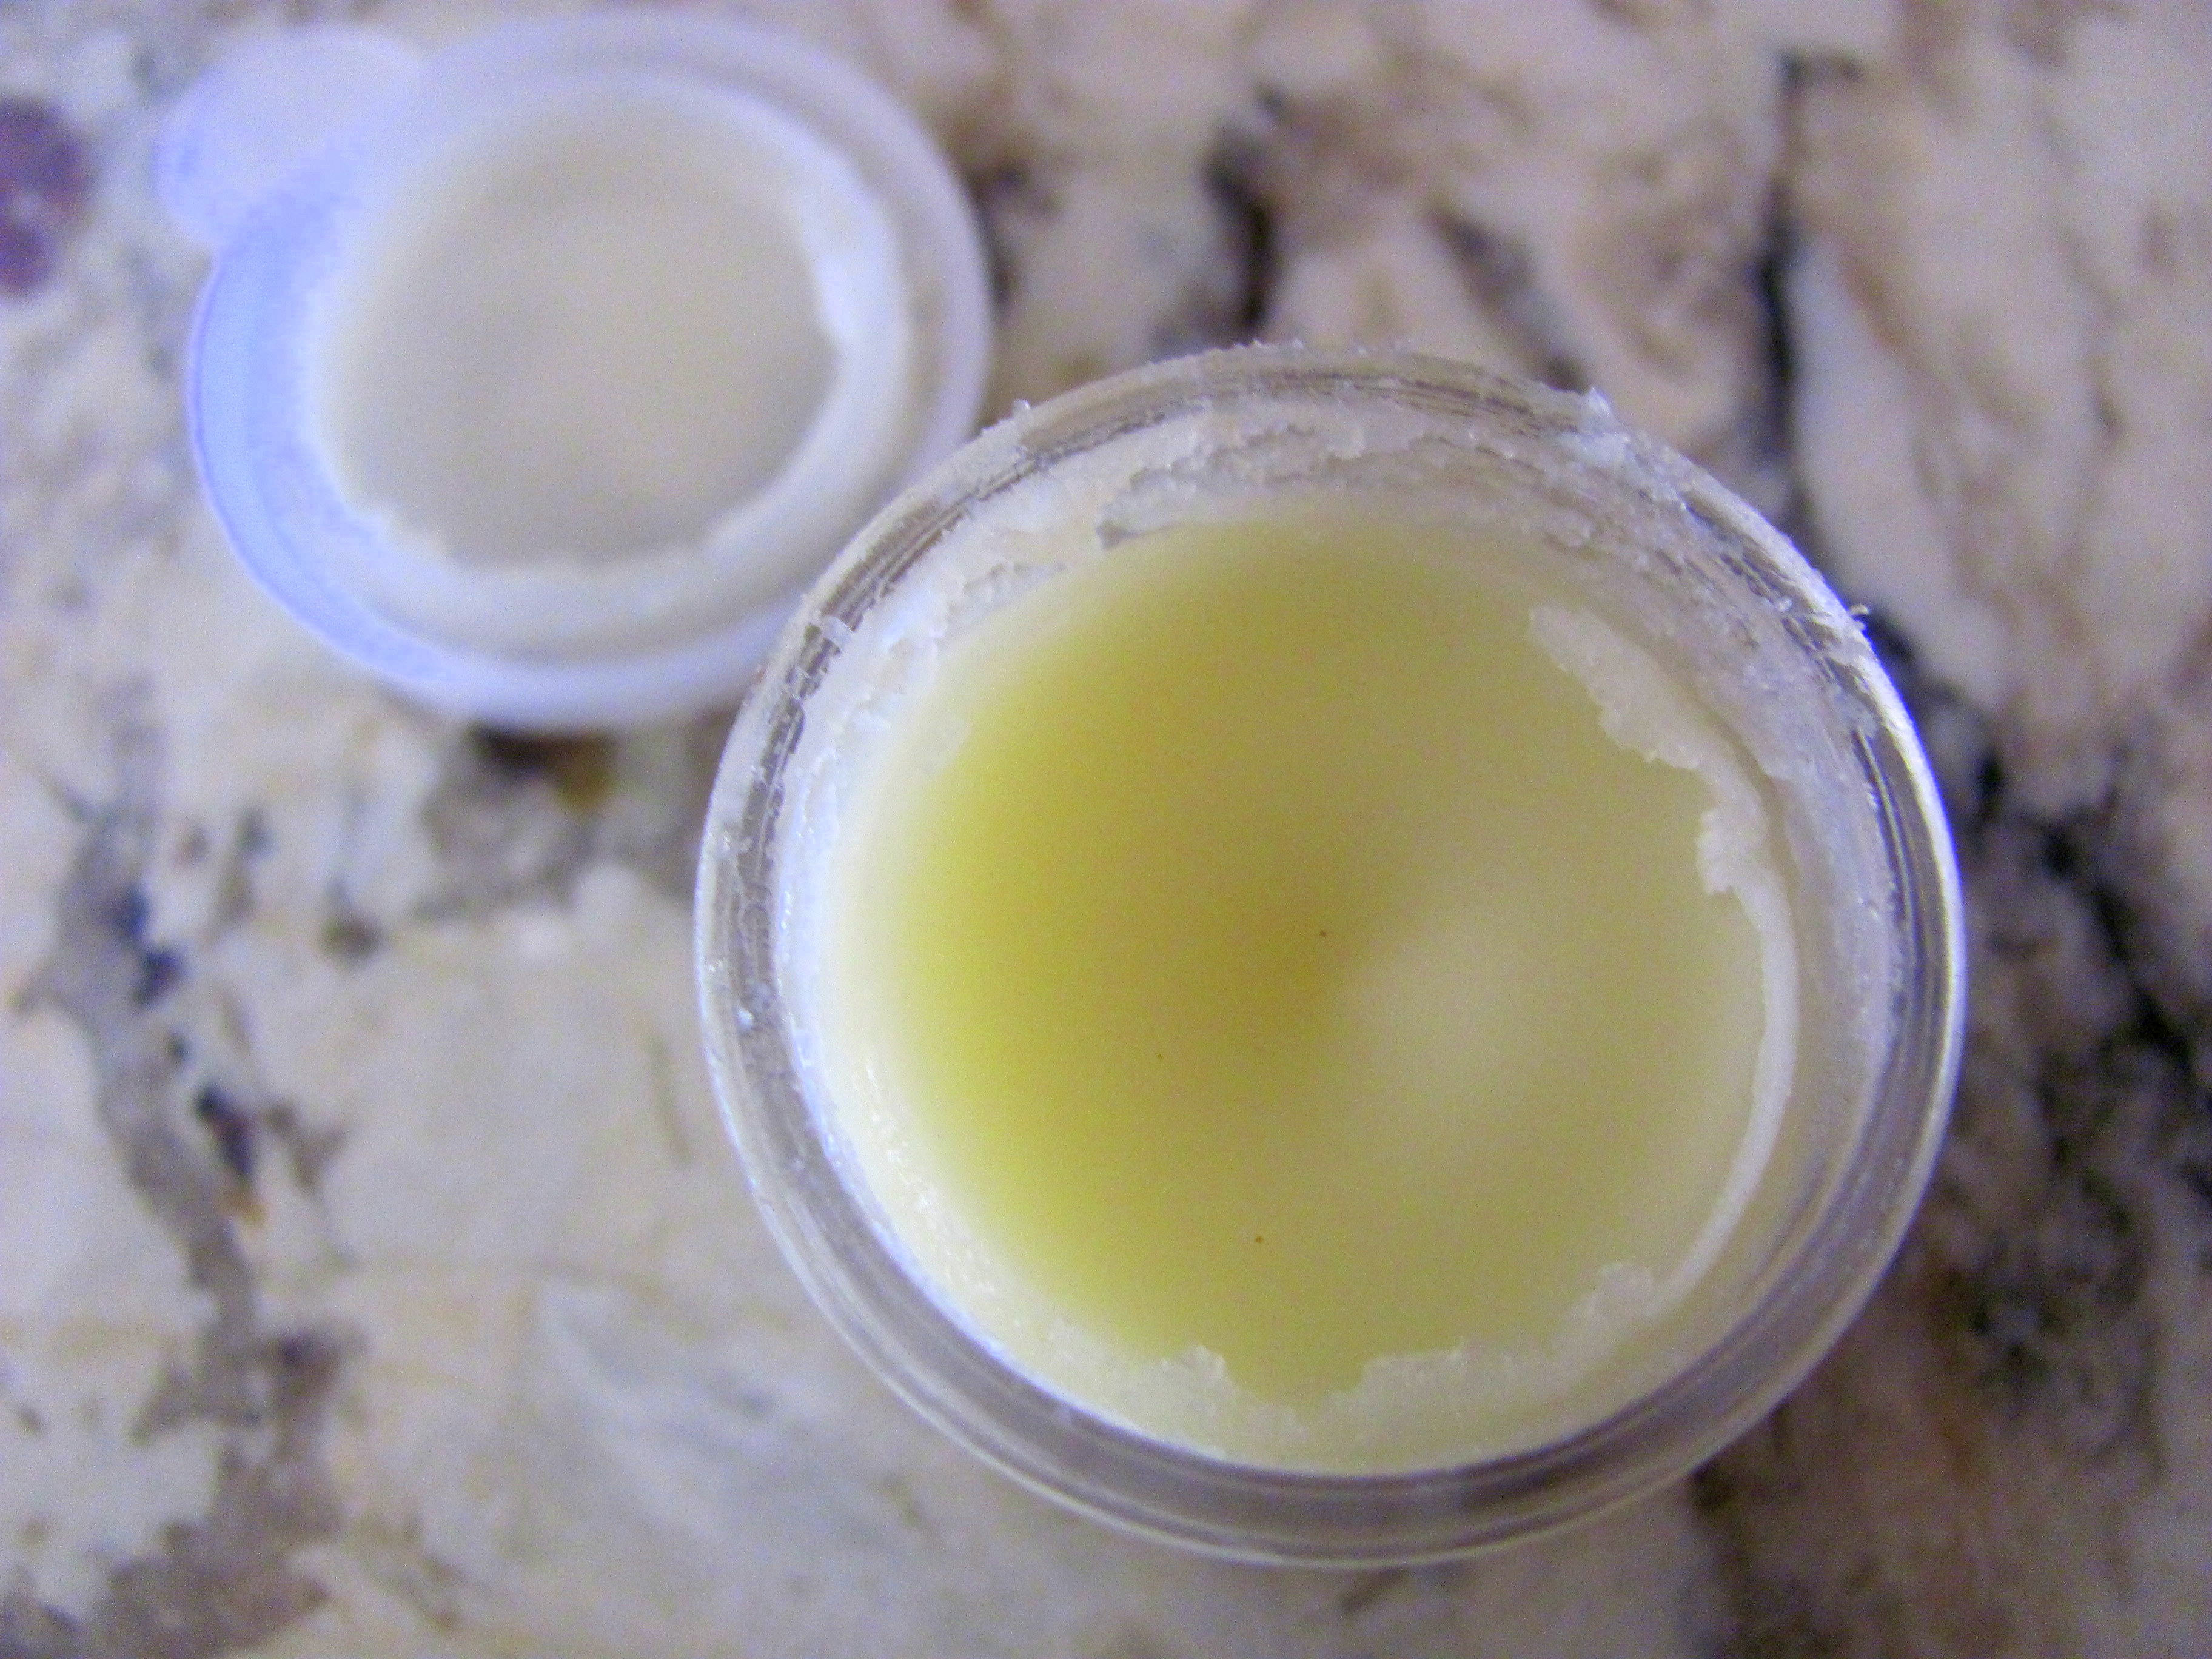
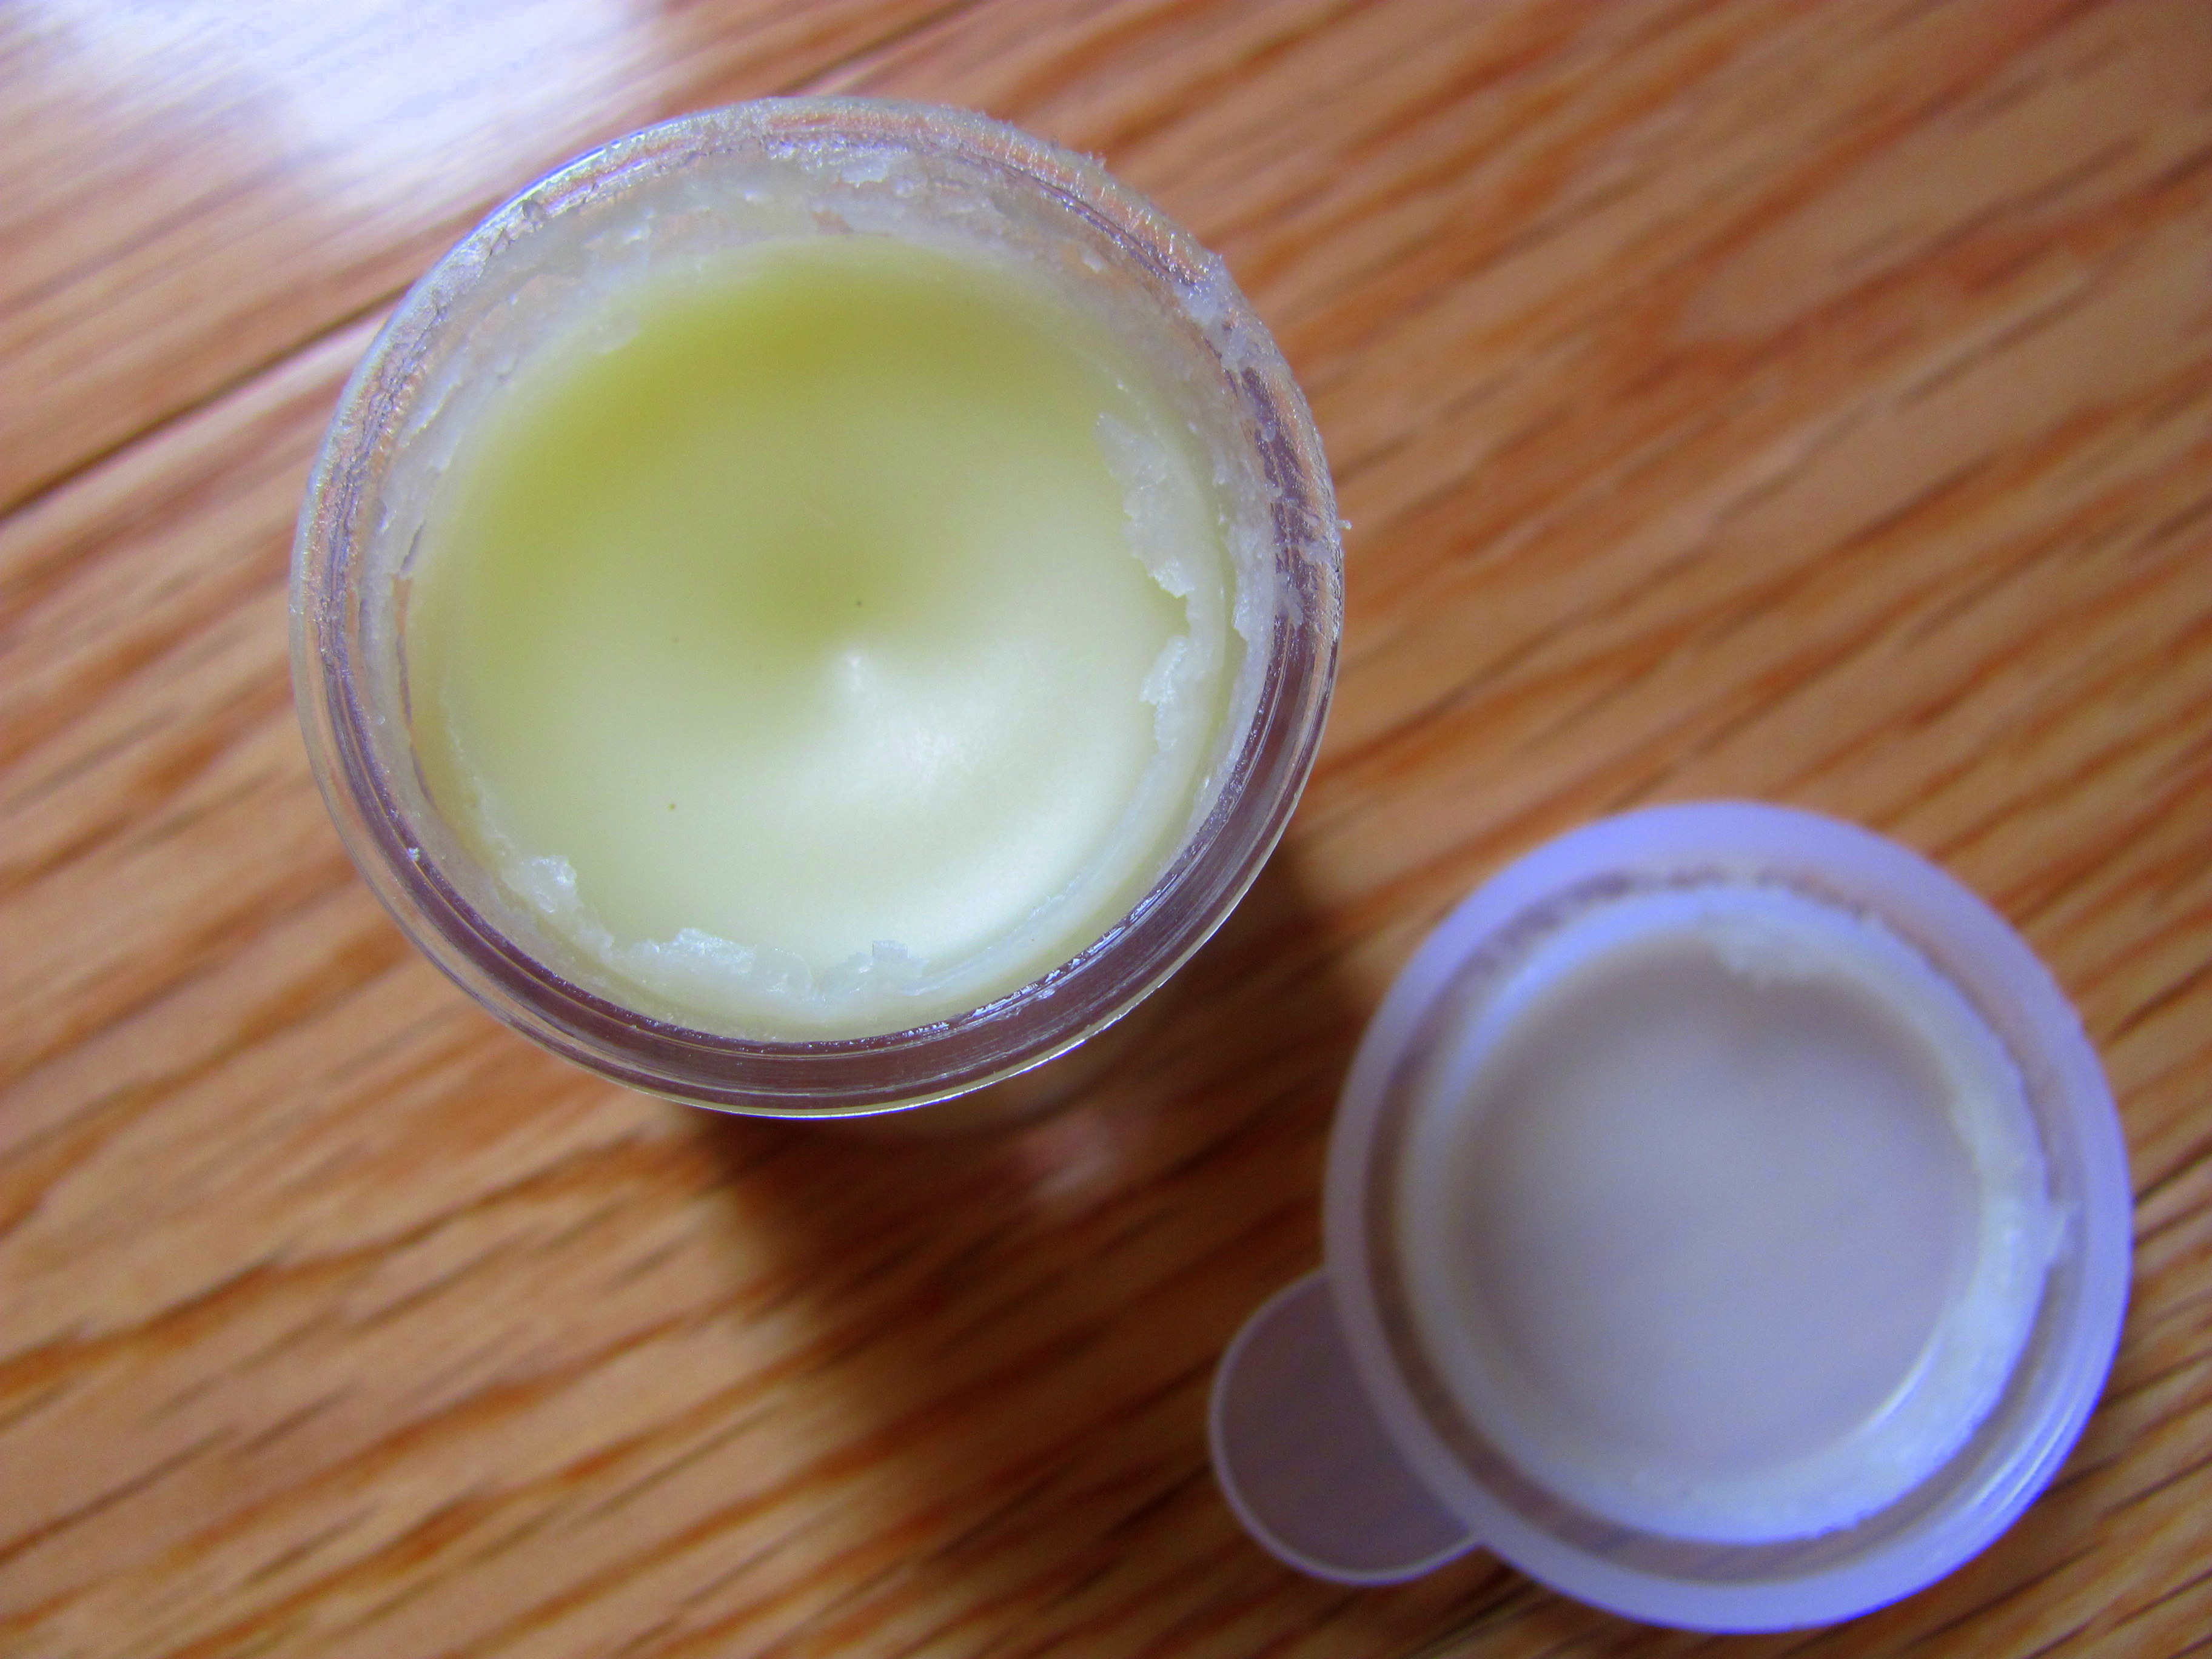
Allow the mixture to cool for a few minutes (1-2 minutes). Add the vanilla extract and vitamin E, stir and then pour into 4-6 small glass or plastic (but preferably not, due to plastic’s BPA content) jars. Finding jars, for me, is the most complicated part about making homemade cosmetics. Therefore, try to save empty containers from used-up store-bought products and set them aside. For this batch I used empty paint containers sold in a 6-pack at the dollar store.
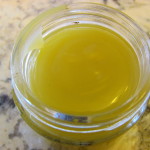
Allow the pots to cool and harden at room temperature (or in the fridge) for a few hours. Gift to family and friends or stash one in every place you can think of – your purse, your jacket pockets, your car, your backpack, etc. – so that you never have to go a long, wintery day with dry, cracked lips. Enjoy!
You might also like:

Sounds so easy to make! I can’t wait to try this.
– KW
musthaveboxes.com
it is pretty easy! I hope you like it!
Ha, ha. I just bought some Burt’s Bees lip balm (about a week ago) but immediately regretted it, thinking to myself “nah, I bet I can just make some myself”. The balm has been sitting by my door waiting to return to the store ever since 😛 Now it MUST go back to the store because you’ve shown me the way! Thanks 🙂
Haha! and Burt’s Bees can be priced pretty steeply! I’m thinking for the next batch to add in a bit more beeswax to this recipe. The balm from this recipe goes on very creamy, like a lip butter, and it can wear off easily. I think adding more beeswax would make it harder and enhance the moisture-locking effect and give it more staying power. I hope you like it!
Yes! This is next on my list of DIY beauty products – thanks for the simple recipe!
De nada! It got the golden seal of approval from my brother too (because the recipe makes so much that I had to find people to give some away to). He said to me this morning, “did you make this? it’s good!” Well, from a brother that’s quite an approving statement, so I hope you like it too!
Does this recipe “spoil”? I’m assuming not. Looking for some DIY gifts 🙂
Hi, Jessica. Due to the lack of water it lasts for a few months without spoiling. For the light oil, avoid olive oil as it tends to spoil more readily. Add in some vitamin E, which also acts as a natural preservative and helps condition lips.
Hmmm instead of butter can I use ghee I feel butter will spoil fast, correct me if I am wrong
I thought I ordered lip balm containers but they sent chapstick ones. Would this recipe work for that?
I, too, have lip balm tubes and was wondering if this recipe would work in the lip balm tubes.
Hi, Sue, it would work, you’d just have to play with increasing the beeswax and shea butter to decrease melting.